Sawtooth Star Quilt Design Wall
- Maggie Reno

- Dec 8, 2025
- 3 min read
I’m someone who likes things to look pretty around the house—not fancy or fussy, just thoughtfully put together. It’s my way of creating a space that feels warm, lived-in, and joyful. When I moved into our basement I was excited to have room for a quilt design wall. I started looking at the options, searching specifically for one that would look good when it wasn't covered in blocks. I immediately loved wall tiles. They are so simple and very lightweight. As I priced out tile walls others had done I experienced sticker shock and held off on buying them. I'm so glad I waited.
Last year I found a cheaper wall tile on Amazon. Although their colors were more limited, they had colors I liked, and they have since expanded their color options. They also only had squares, but I knew they were light-weight so I ordered a box to see how they would look cut. I had first thought it would require several cuts with a utility knife, I even considered borrowing a friends laser cutter if needed. But when I finally got these in my hand I knew it wouldn't take that much to cut through them! I happened to have an old blade on my rotary tool so I tried that first using a quilting ruler to cut. It took one cut! The next time they went on sale, I ordered the next two boxes I needed. So I actually spent just under $100 on this wall! (It is about $120 regular price.)
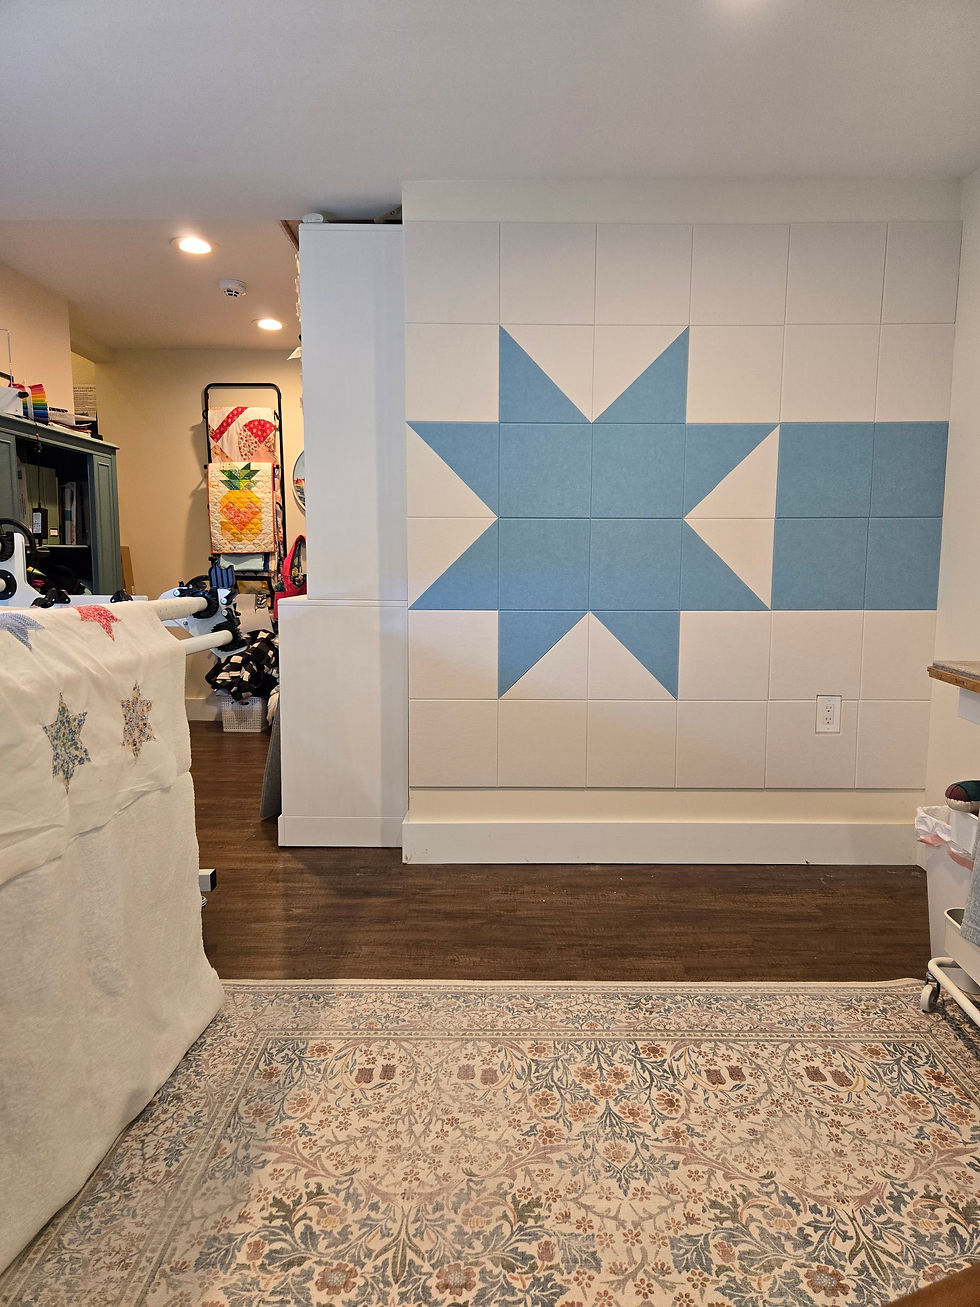
I planned this layout with both design and price in mind. It takes exactly three 12-packs of the Decorita Wall tiles: two warm white and one baby blue. (Affiliate Link) The baby blue matches the accent wall in this space really well!

I cut 4 of each tile color in half on the diagonal for the Sawtooth Star points.

The tiles use an adhesive tape to go on the wall. It's strong, so be fore-warned, it will probably tear off paint when you remove them. Also pay attention to the layout of the design wall when you're placing the sawtooth points. I had to rip one off, but luckily they send extra adhesives. These tiles don't hold fabric well so I pin the blocks to it, but I don't mind that at all.
To install the wall I chose a few inches from the baseboard and checked that 6 tiles would fit without getting too high. I used a rotating laser level (you can see it in the bottom right corner of the photo - but the line is hard to see) to mark the top of the first row of tiles and installed the first row.

Since the last tile in the rows didn't quite fit, I put the tile up against the wall and marked where it met the previous tile on the back, both top and bottom. Using a ruler I lined it up to the two points and cut off the excess. I measured and marked the hole I needed for the outlet in the same way. I even cut that (from the back of the tile) with the rotary cutter.
After the first row was installed I eyeballed the rest of the rows. There are a few tiles that wound up just a little out of alignment. I suspect the size on some of the tiles wasn't precise. All in all, I absolutely LOVE how it turned out, and I've already put it to good use!


Comments