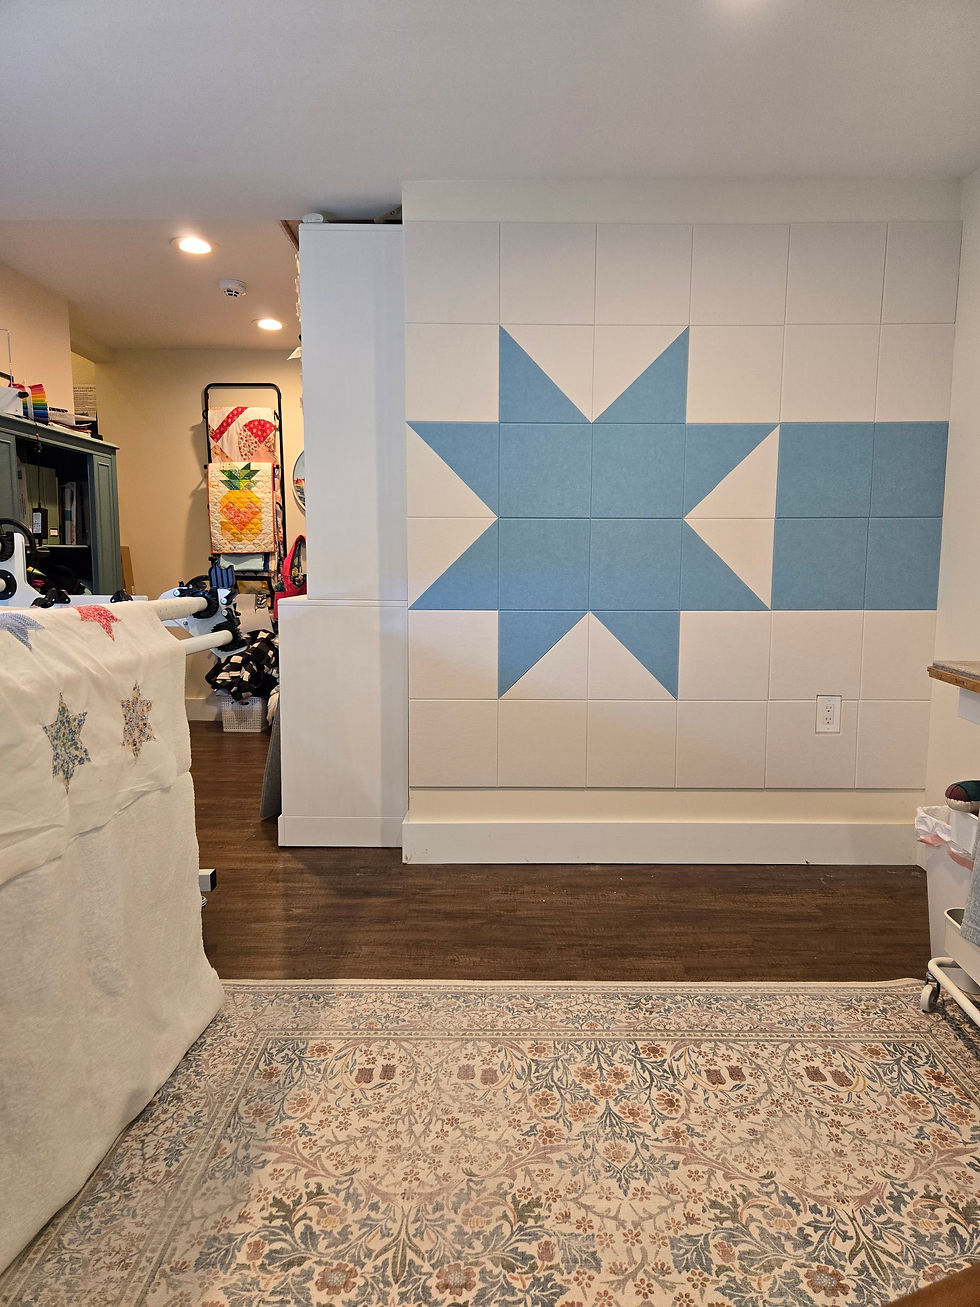
Launch Status Check Quilt Along: Week 2
- Maggie Reno

- Nov 1, 2021
- 3 min read
We're in week two of the Launch Status Check Quilt Along! There have been some really great fabric pulls shared on social media. And even though we're moving along to the cutting you can still join! You can sign up here. This week we're cutting the fabric. Just remember to pace yourself. You have all week and don't need to cut everything in one night and hurt your wrist!

A lot of quilters struggle with blocks being the correct size, and I'll be the first to confess it can be the pattern that caused the problem. But when no one else seems to be struggling with their block sizes I go back all the way to the beginning.
PRESS YOUR FABRIC
Press your fabric before you cut it! Almost every time I have sizing issues I can trace it back to not pressing. Pressing ensures that the fabric is flat so that wrinkles and bumps don't cause errors in your cuts.


Steaming and Starching are a matter of personal preference. I personally like to use steam on my fabrics to get them even flatter, but I have never starched. There are some quilters who always starch before cutting for even more precision in cuts and less stretching during the sewing process. Starch can be especially helpful on blocks like HSTs and Snowball corners (this pattern has both) to prevent stretching when sewing and cutting on the diagonal. But again, those are a matter of personal preference.
TOOLS
Before you even begin cutting check your tools. When I buy a new mat I use my ruler to check that the increments are correct and vice versa. One Arteza cutting mat that I purchased had the lines in between the inches divided by tenths. I don't know how many fabrics I probably cut wrong before catching that! So this is my reminder to check your tools have the correct measurements!
I have a list of the Basic Quilting Tools and my current favorites here. It includes my most used rulers and favorite mat. I typically use a 6"x24" ruler for the WOF cuts and a 2.5"x12" for all the sub-cuts. For those of you quilting frequently I highly recommend a Olfa's Endurance titanium blade. It cuts through the fabric better and lasts longer than any other blade I've used. I also prefer the Fiskar's Adjustable Three-Position Rotary Cutter (45 mm). It is so light and the most comfortable cutting position for me.

SQUARE OFF THE FABRIC
Before you start cutting your WOF strips don't forget to square off the fabric! This helps you cut straight for your WOF cuts. Line the folded edge of your fabric across the bottom line of the cutting mat. Line up the ruler edge to the same bottom line and shift the ruler until you have fabric under both layers all the way down. (You might have to check under the top layer to make sure.) Trim off the excess.

HOW TO HOLD THE RULER
For years I have held my ruler with my hand spread across the ruler, pressing down to give it more pressure and keep it firmly in place. It worked but I had a lot of miscuts from my ruler still shifting. I tried ruler handles with no major improvement. Then I started buying rulers with non-slip grip on the back. Those help prevent a lot of shifting! Then one day I learned somewhere on the internet to use your pinky or your thumb and pinky just off the ruler on the opposite side from cutting to prevent slipping. Not only does it help with slipping but my hand is farther away from the blade too. I have taken a significant amount of flesh off with a rotary blade so I am a lot more careful now!


CUT FASTER
I frequently speed up cutting by layering or laying out multiple WOF cuts above each other to cut through them all at the same time. I have to be careful to not shift layers but it really speeds up the cutting process a lot!


ENTERTAINMENT
My last tip is to turn on a good show, audio book or podcast and listen while you cut! I've re-watched many old classics while cutting fabric and recently finished the fun series Unsellable Houses while cutting fabric. I love home remodeling shows! I also listen to a lot of practice tracks for my choir while cutting.
Happy cutting this week!


Comments